

Let's Get Started
This page is a comprehensive resource on best practices, safety and maintenance tips for your new Watering Hole
Questions? Call 651-560-2038. Otherwise, email support@paddlenorth.com. Our team is here to ensure you have a blast on the water. Thank you for supporting our small business.

What's Inside?
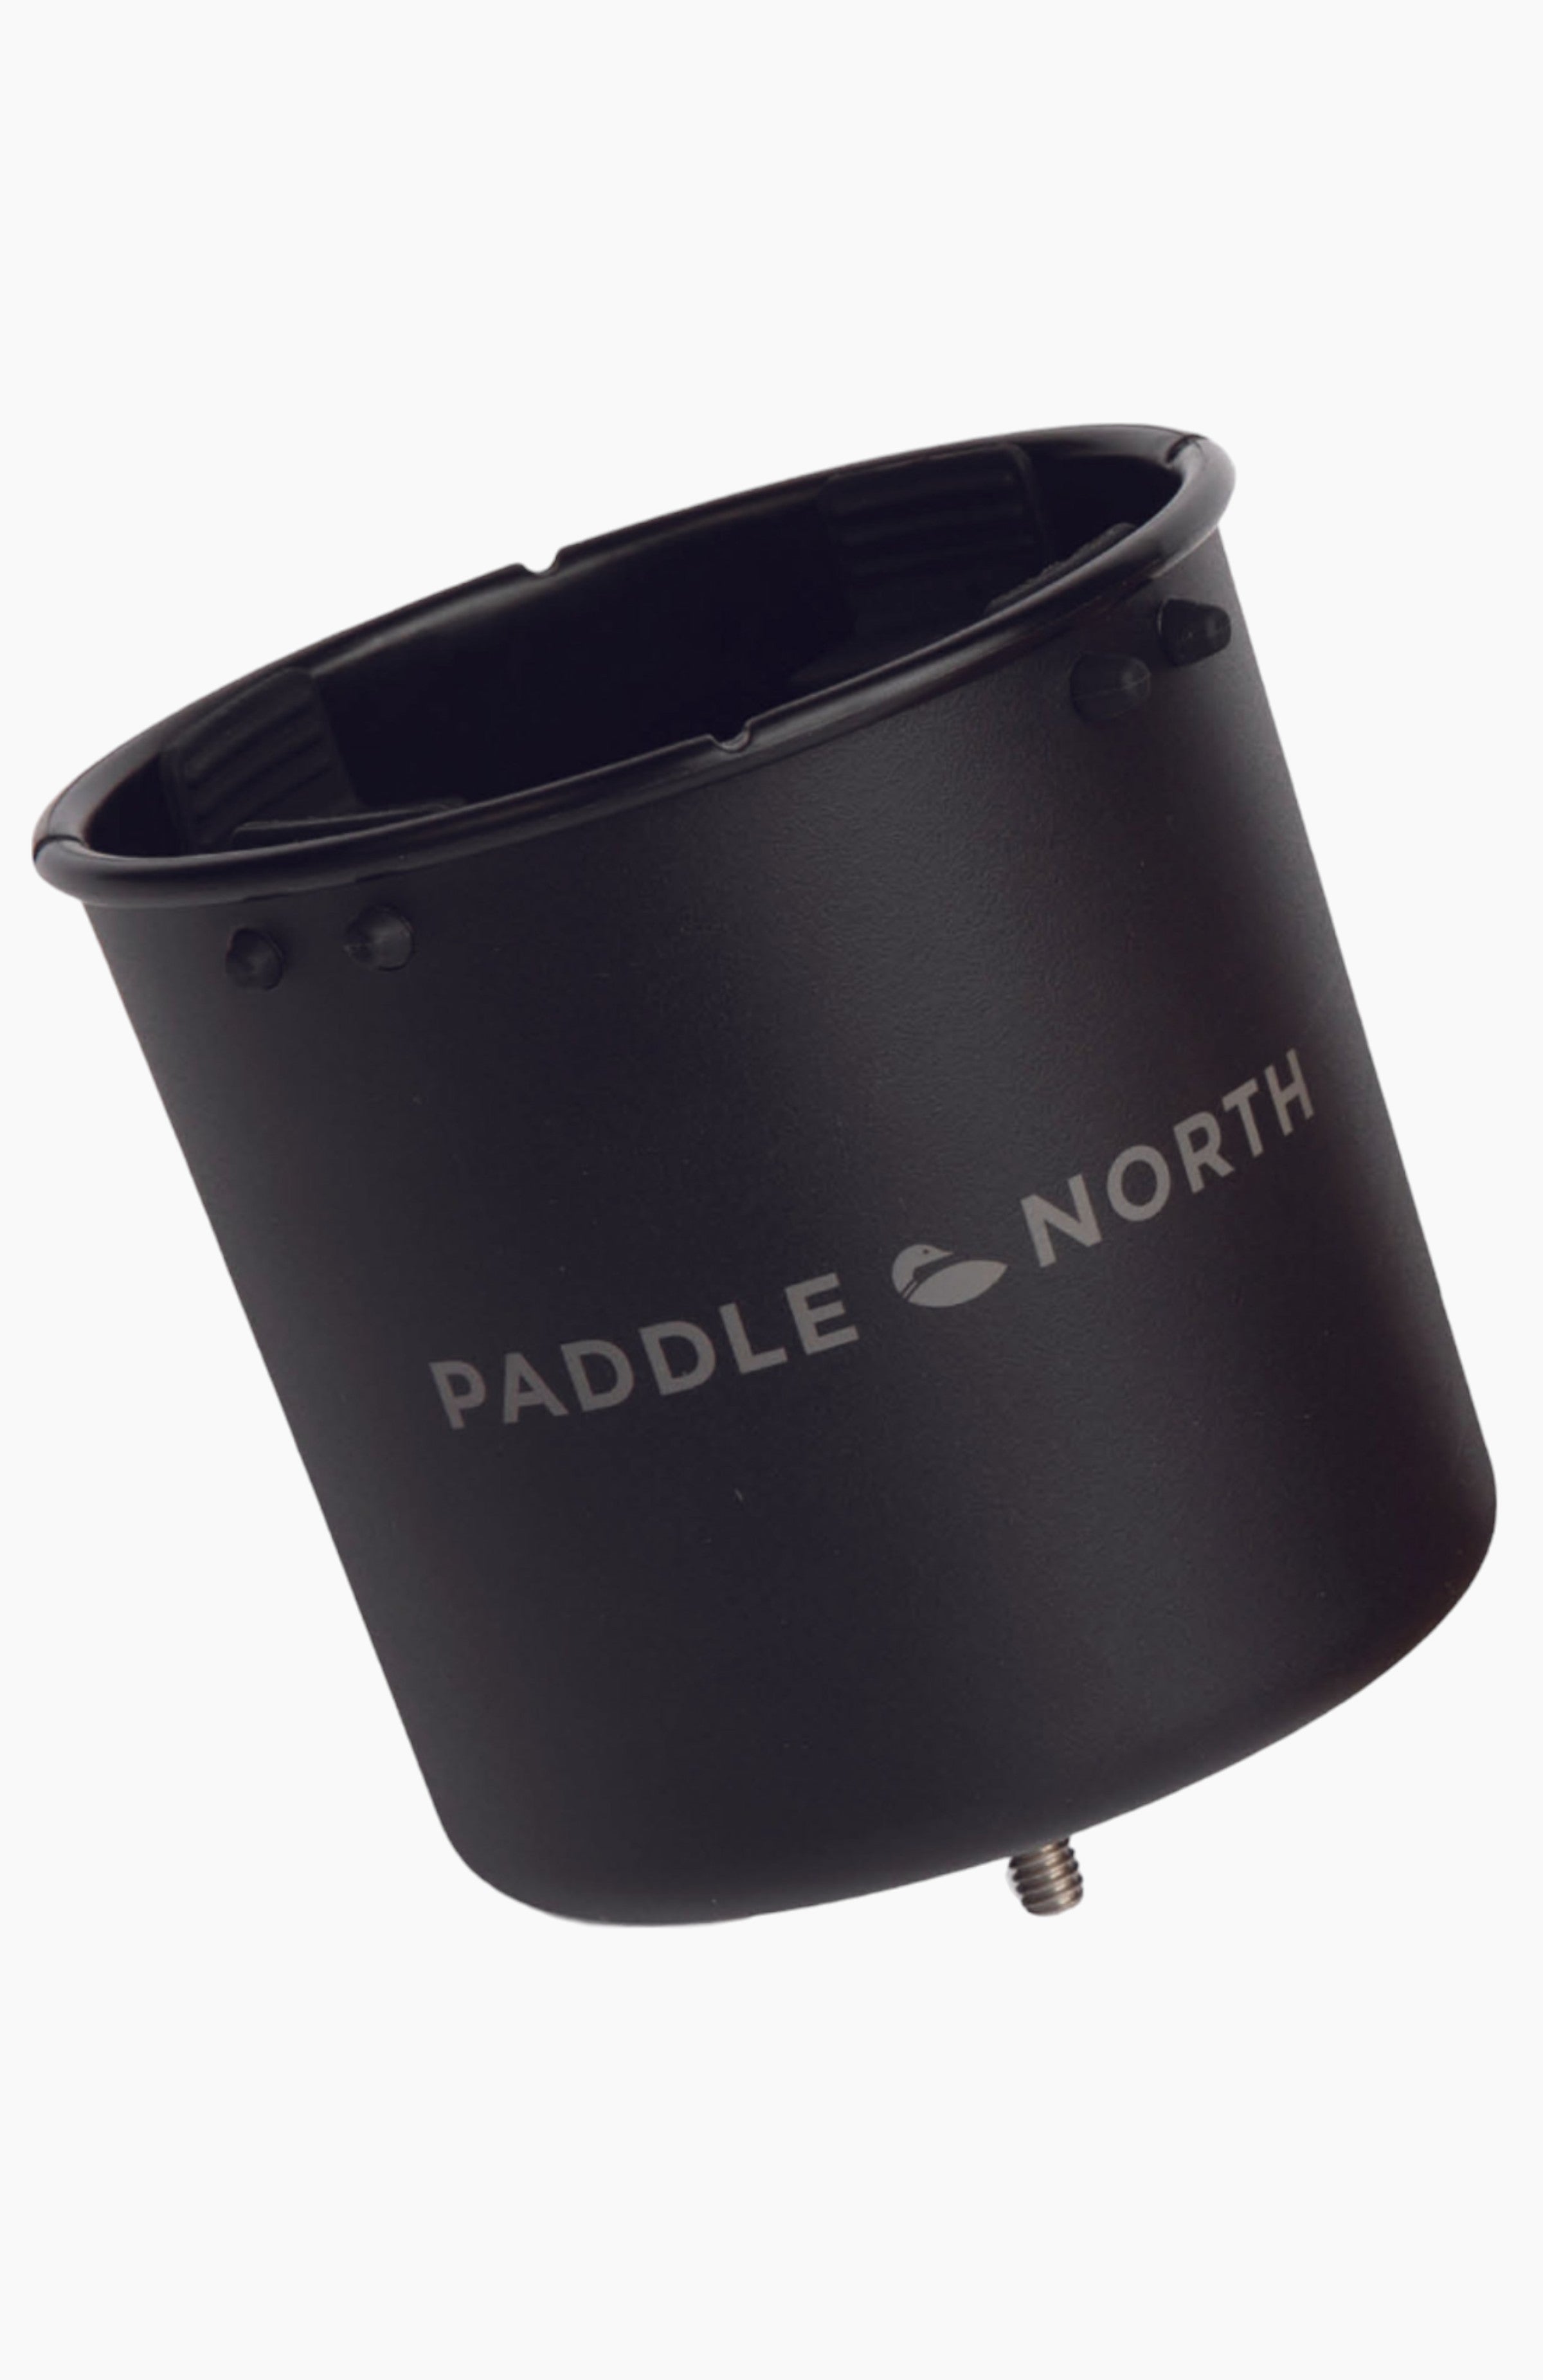
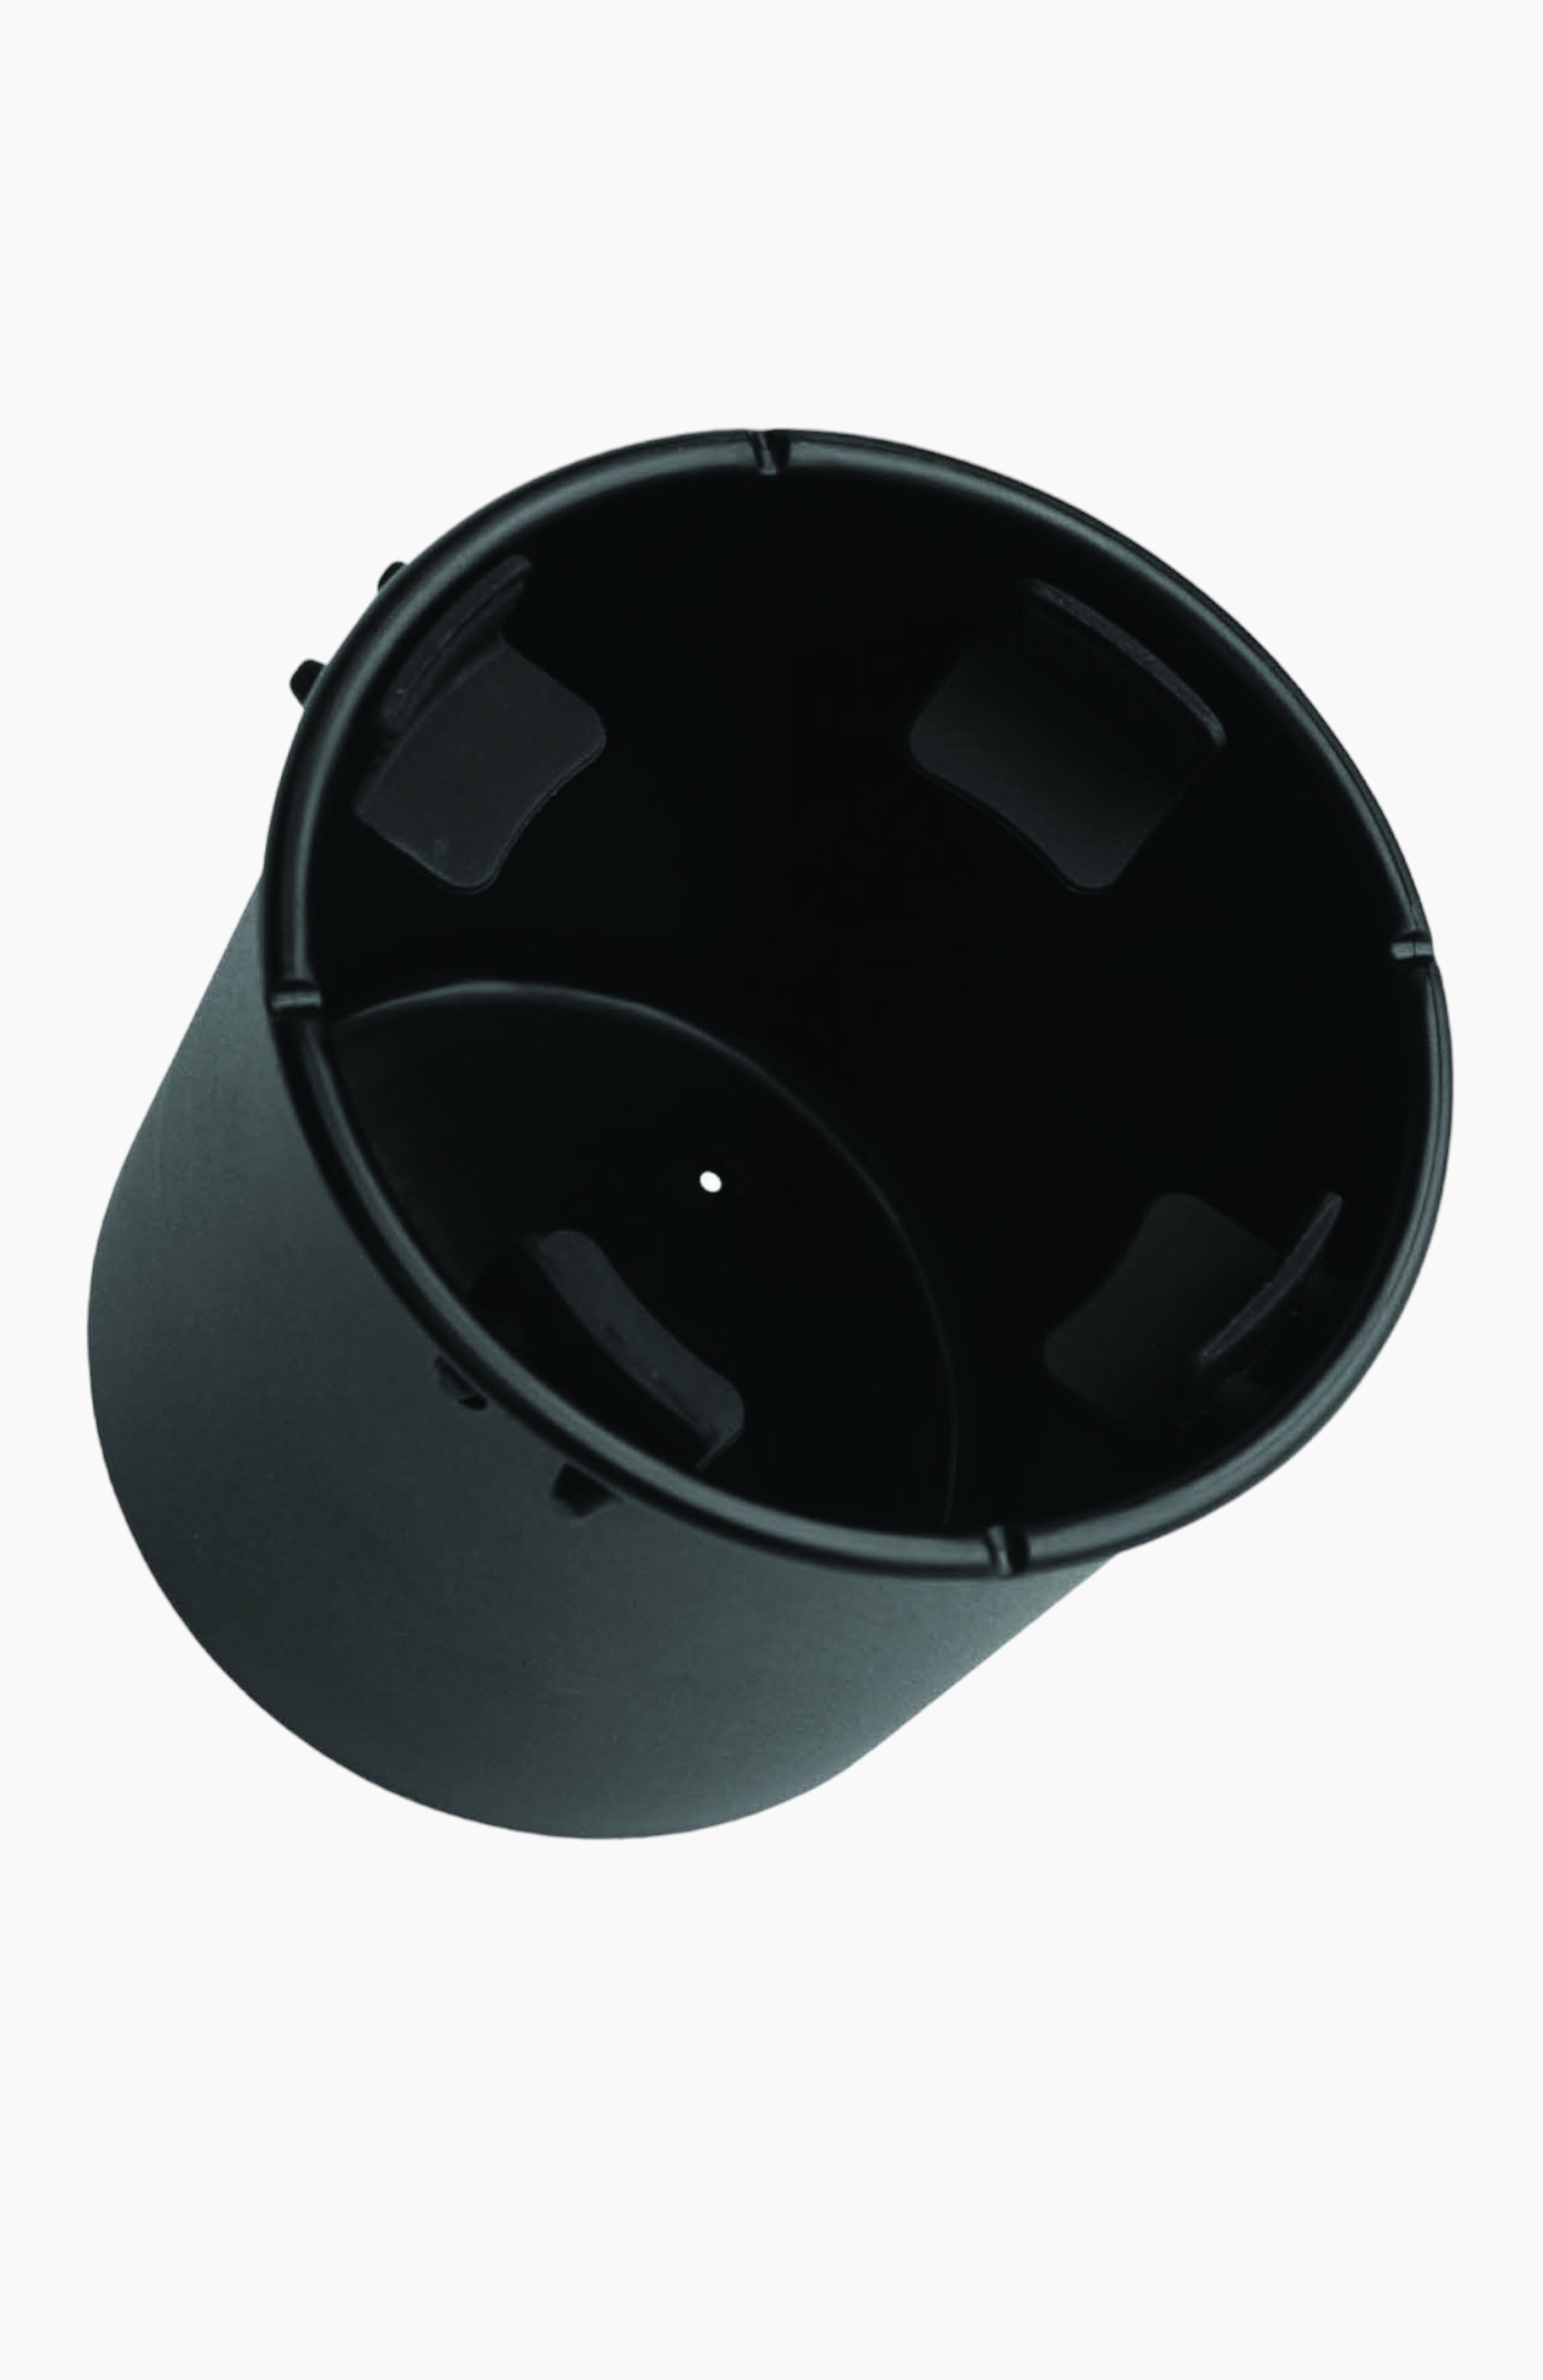
Your kit should include your Watering Hole and x2 Cup Holders. A pump is not included.
Getting Started
Getting Started
Read all safety instructions and guidelines found below. Commit to always wearing a life jacket and make safety a priority on the water.
Safety Instructions - Please Read
Please read carefully prior to use.
Failure to follow safety instructions and precautions may result in serious personal injury or death.
The warnings, cautions, and instructions discussed in this manual cannot cover all possible conditions or situations that could occur.
It is up to the operator to use common sense while using this product.
The Watering Hole is a floating drink and storage holder. It is not a seat, float, or life saving device. Do not sit, stand, or lie on the Watering Hole.
A Type III personal flotation device (PFD) is recommended at all times while on the water.
Do not use the Watering Hole in rough waters, in storm-like conditions, or when lightning is present.
Do not over inflate. Only inflate within recommended PSI range.
Inspect the Watering Hole for any worn or defective parts prior to use and replace as necessary.
Do not use if the product is defective.
Do not use the Watering Hole near motorized boats.
Always carry the Watering Hole to the water, do not drag it across the ground.
If under 18, always use the Watering Hole under adult supervision.
Users of the Watering Hole assume all risk and liability.
Inflating Your Watering Hole
1. Inflating the Watering Hole takes less than 3 minutes, although this does depend on the target psi. A pump is not included; any manual or electric pump with a compatible fitting will work.
2. Ensure the valve pin is in the up position. When the valve pin is up, you can still pump air into the Watering Hole, but it won’t lose any pressure when the pump hose is disconnected. Warning: Do not ever completely unscrew the valve.
3. Connect the pump hose and inflate the Watering Hole to 5-10 PSI. The Watering Hole has a max air capacity of 10 PSI.
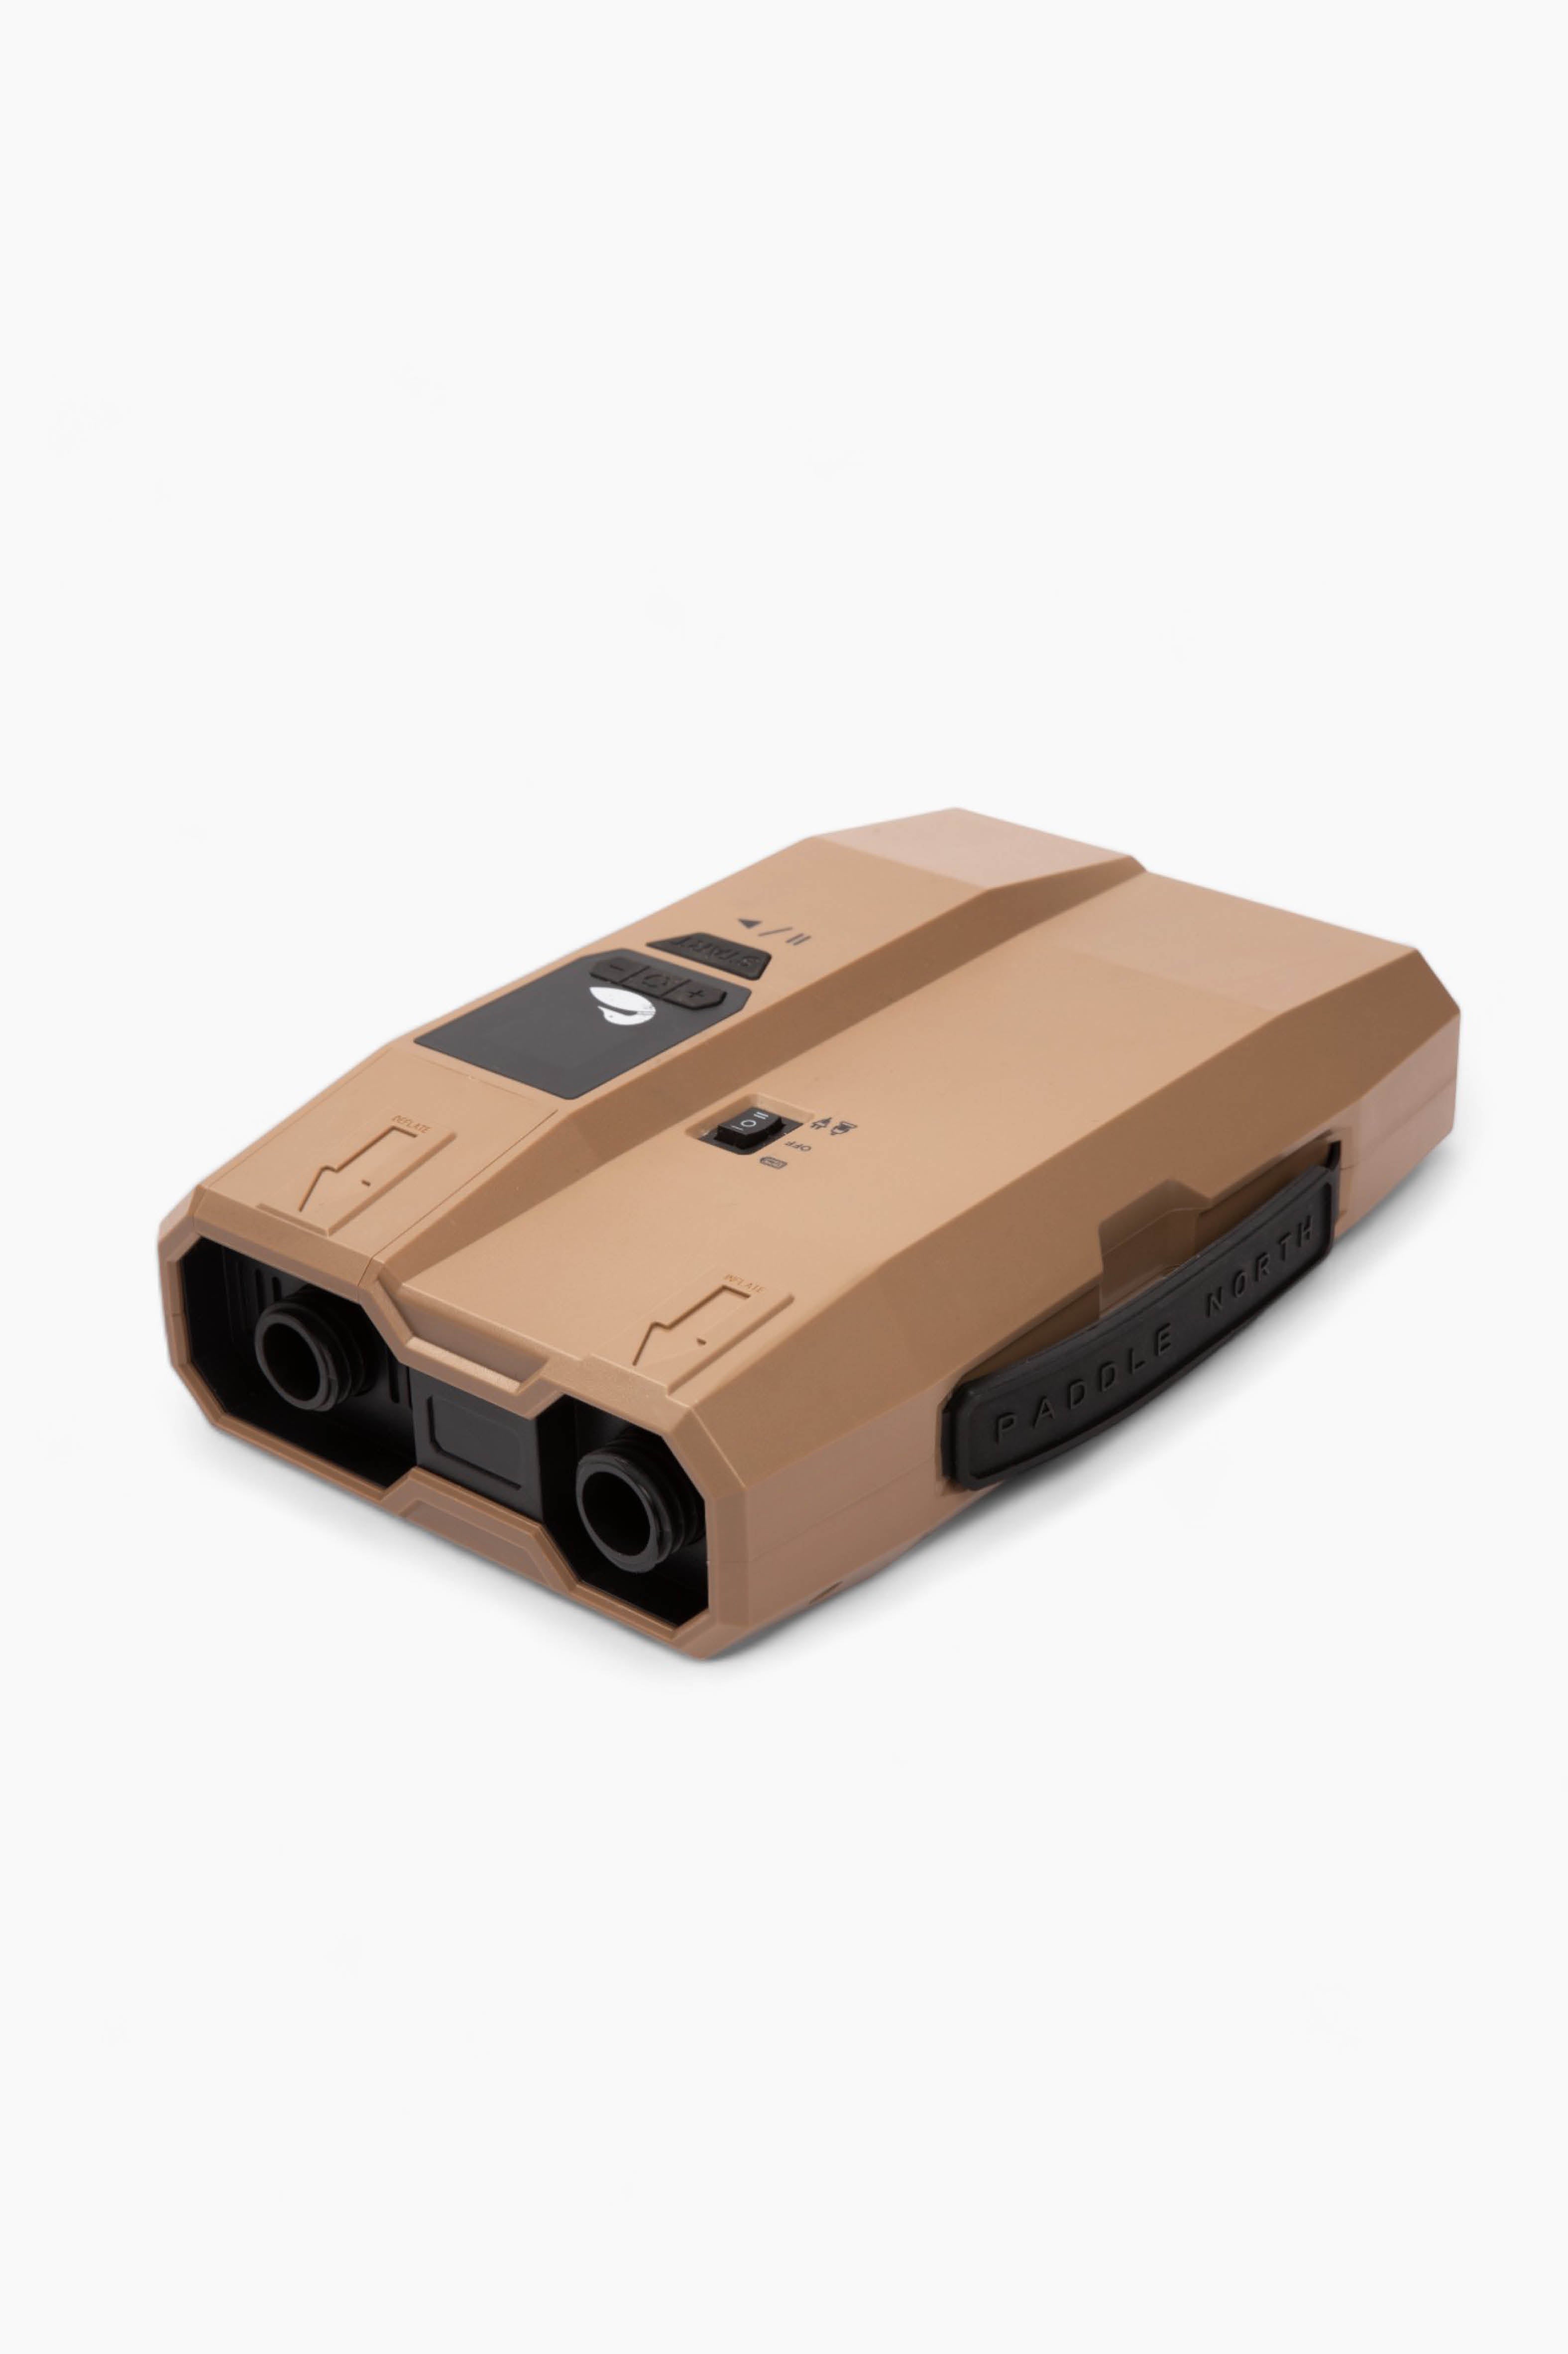
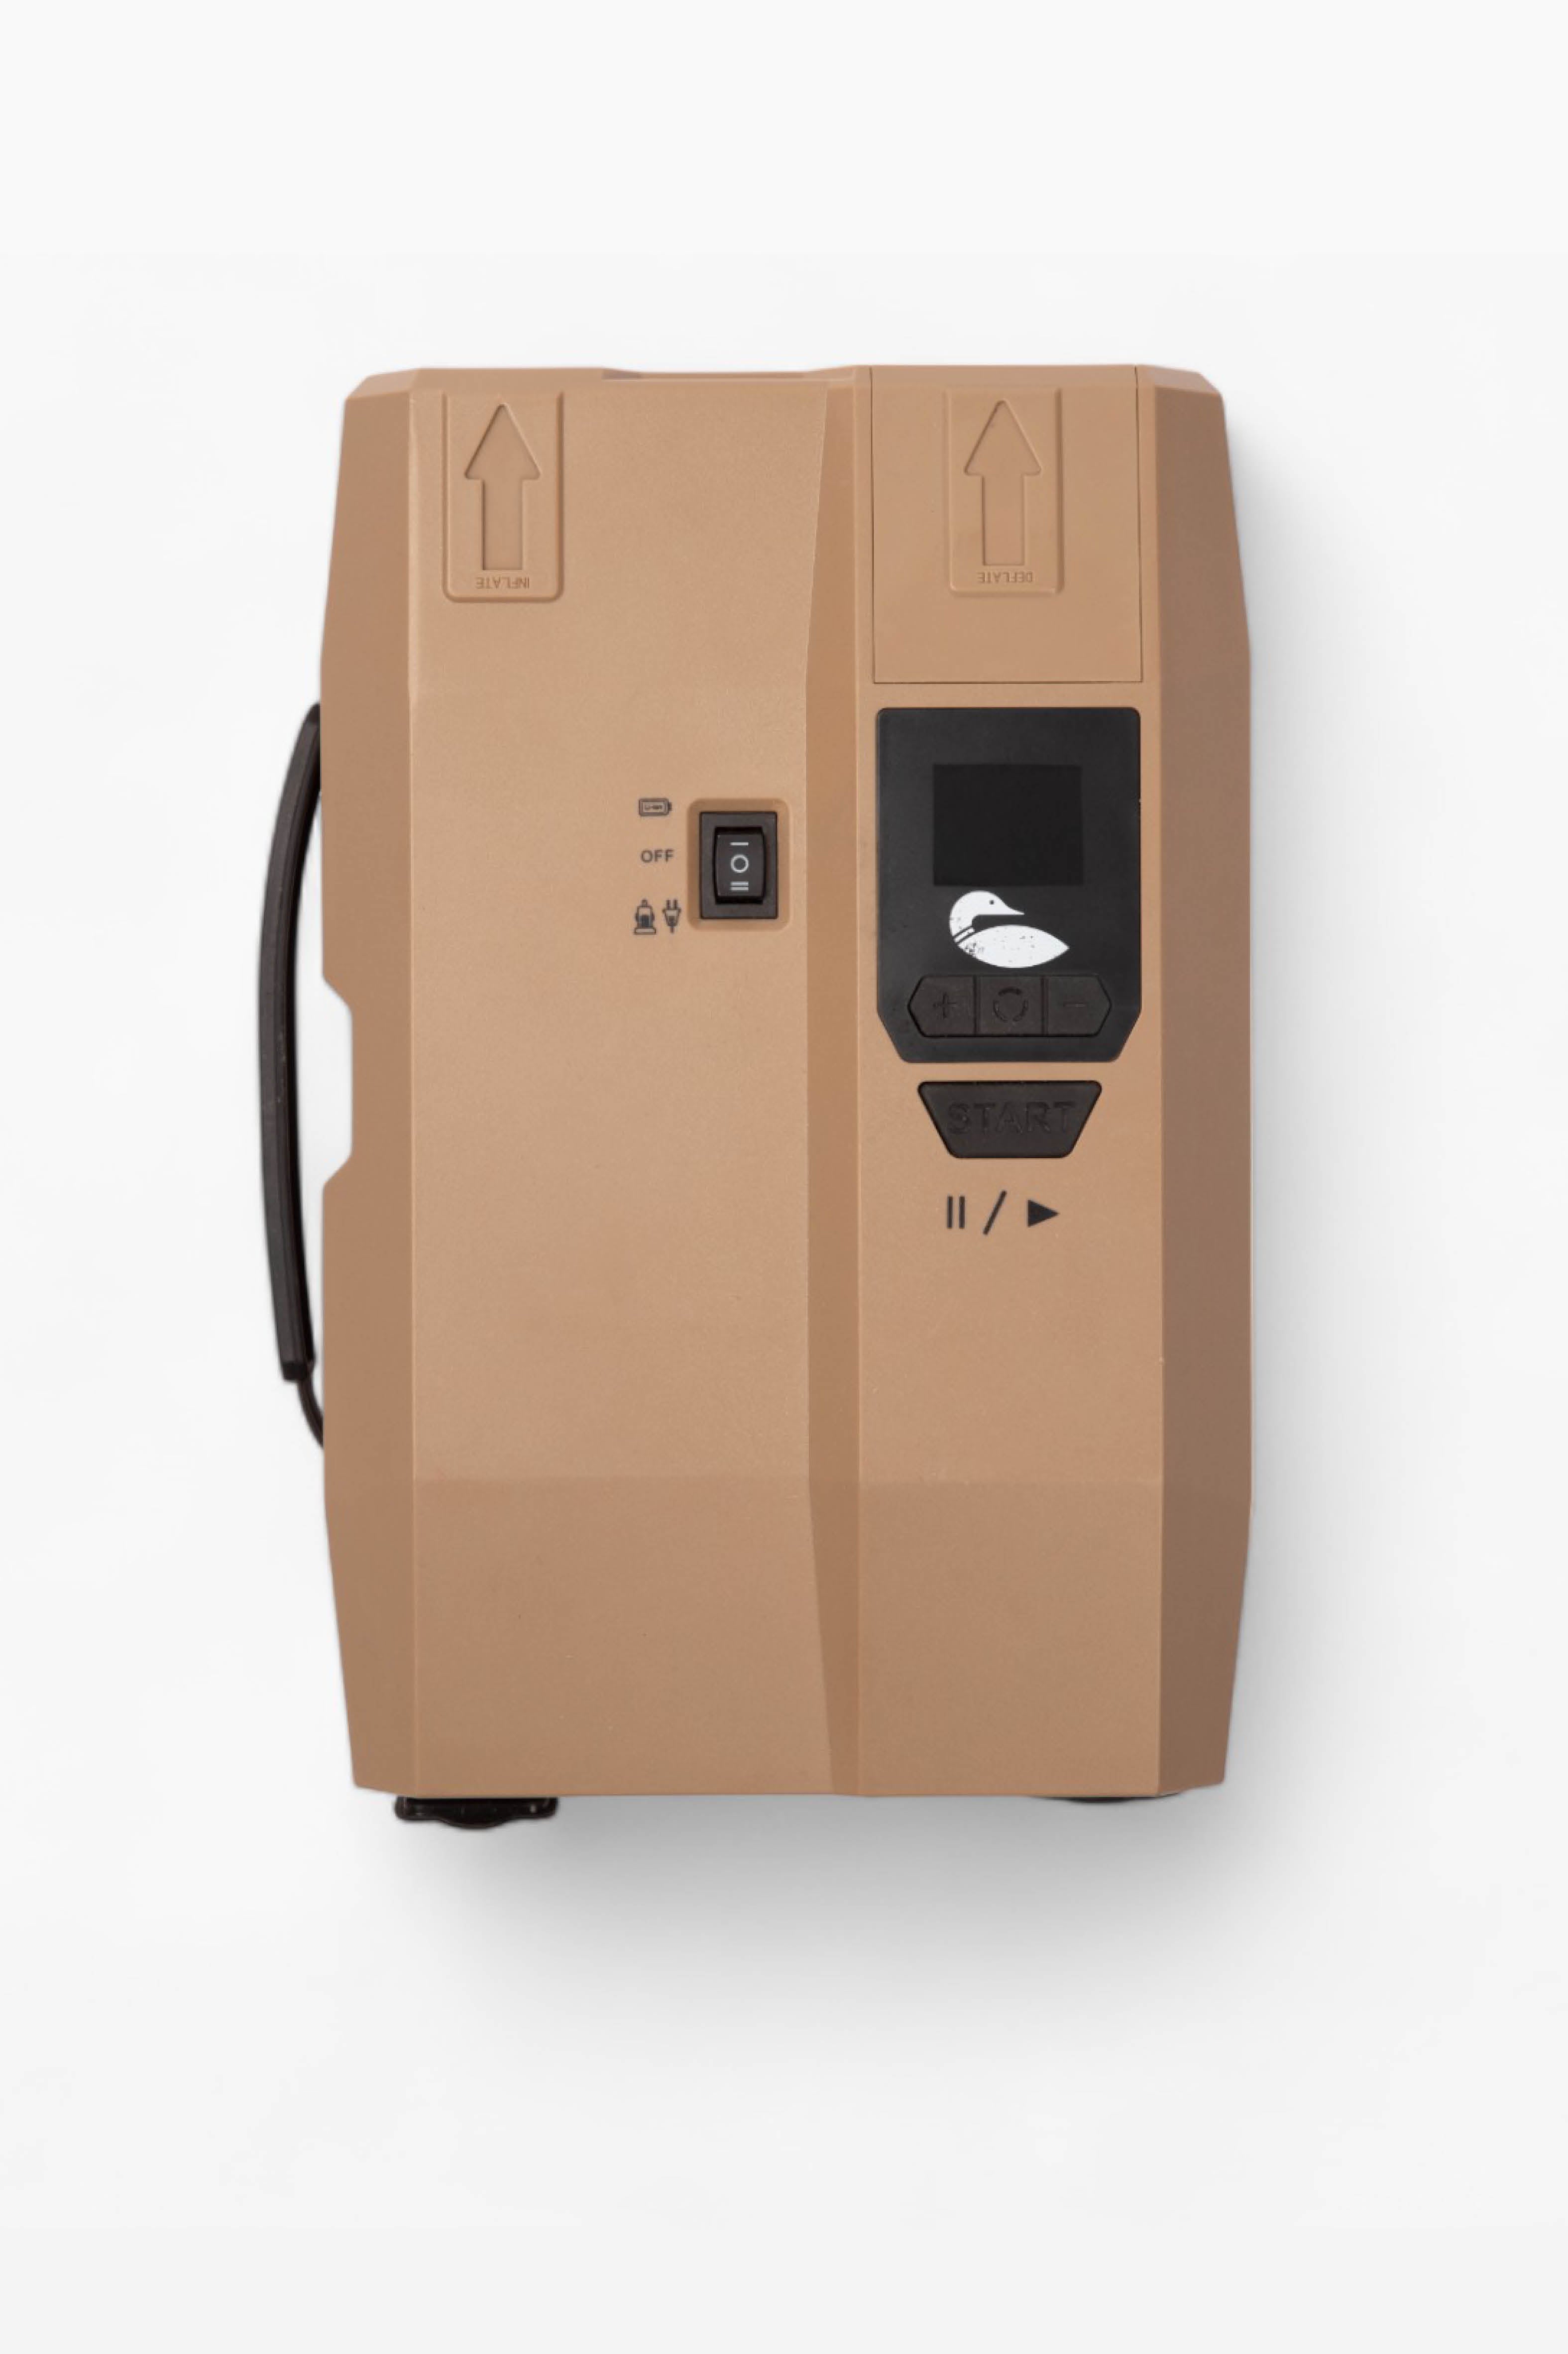
4. Electric pumps and air compressors can be used. We have adapters and e-pumps if inflating manually is an obstacle. If you have an existing e-pump, feel free to use it. You won’t void any warranty or do any damage to the Watering Hole by using an off-brand pump.
Anchoring & Tethering
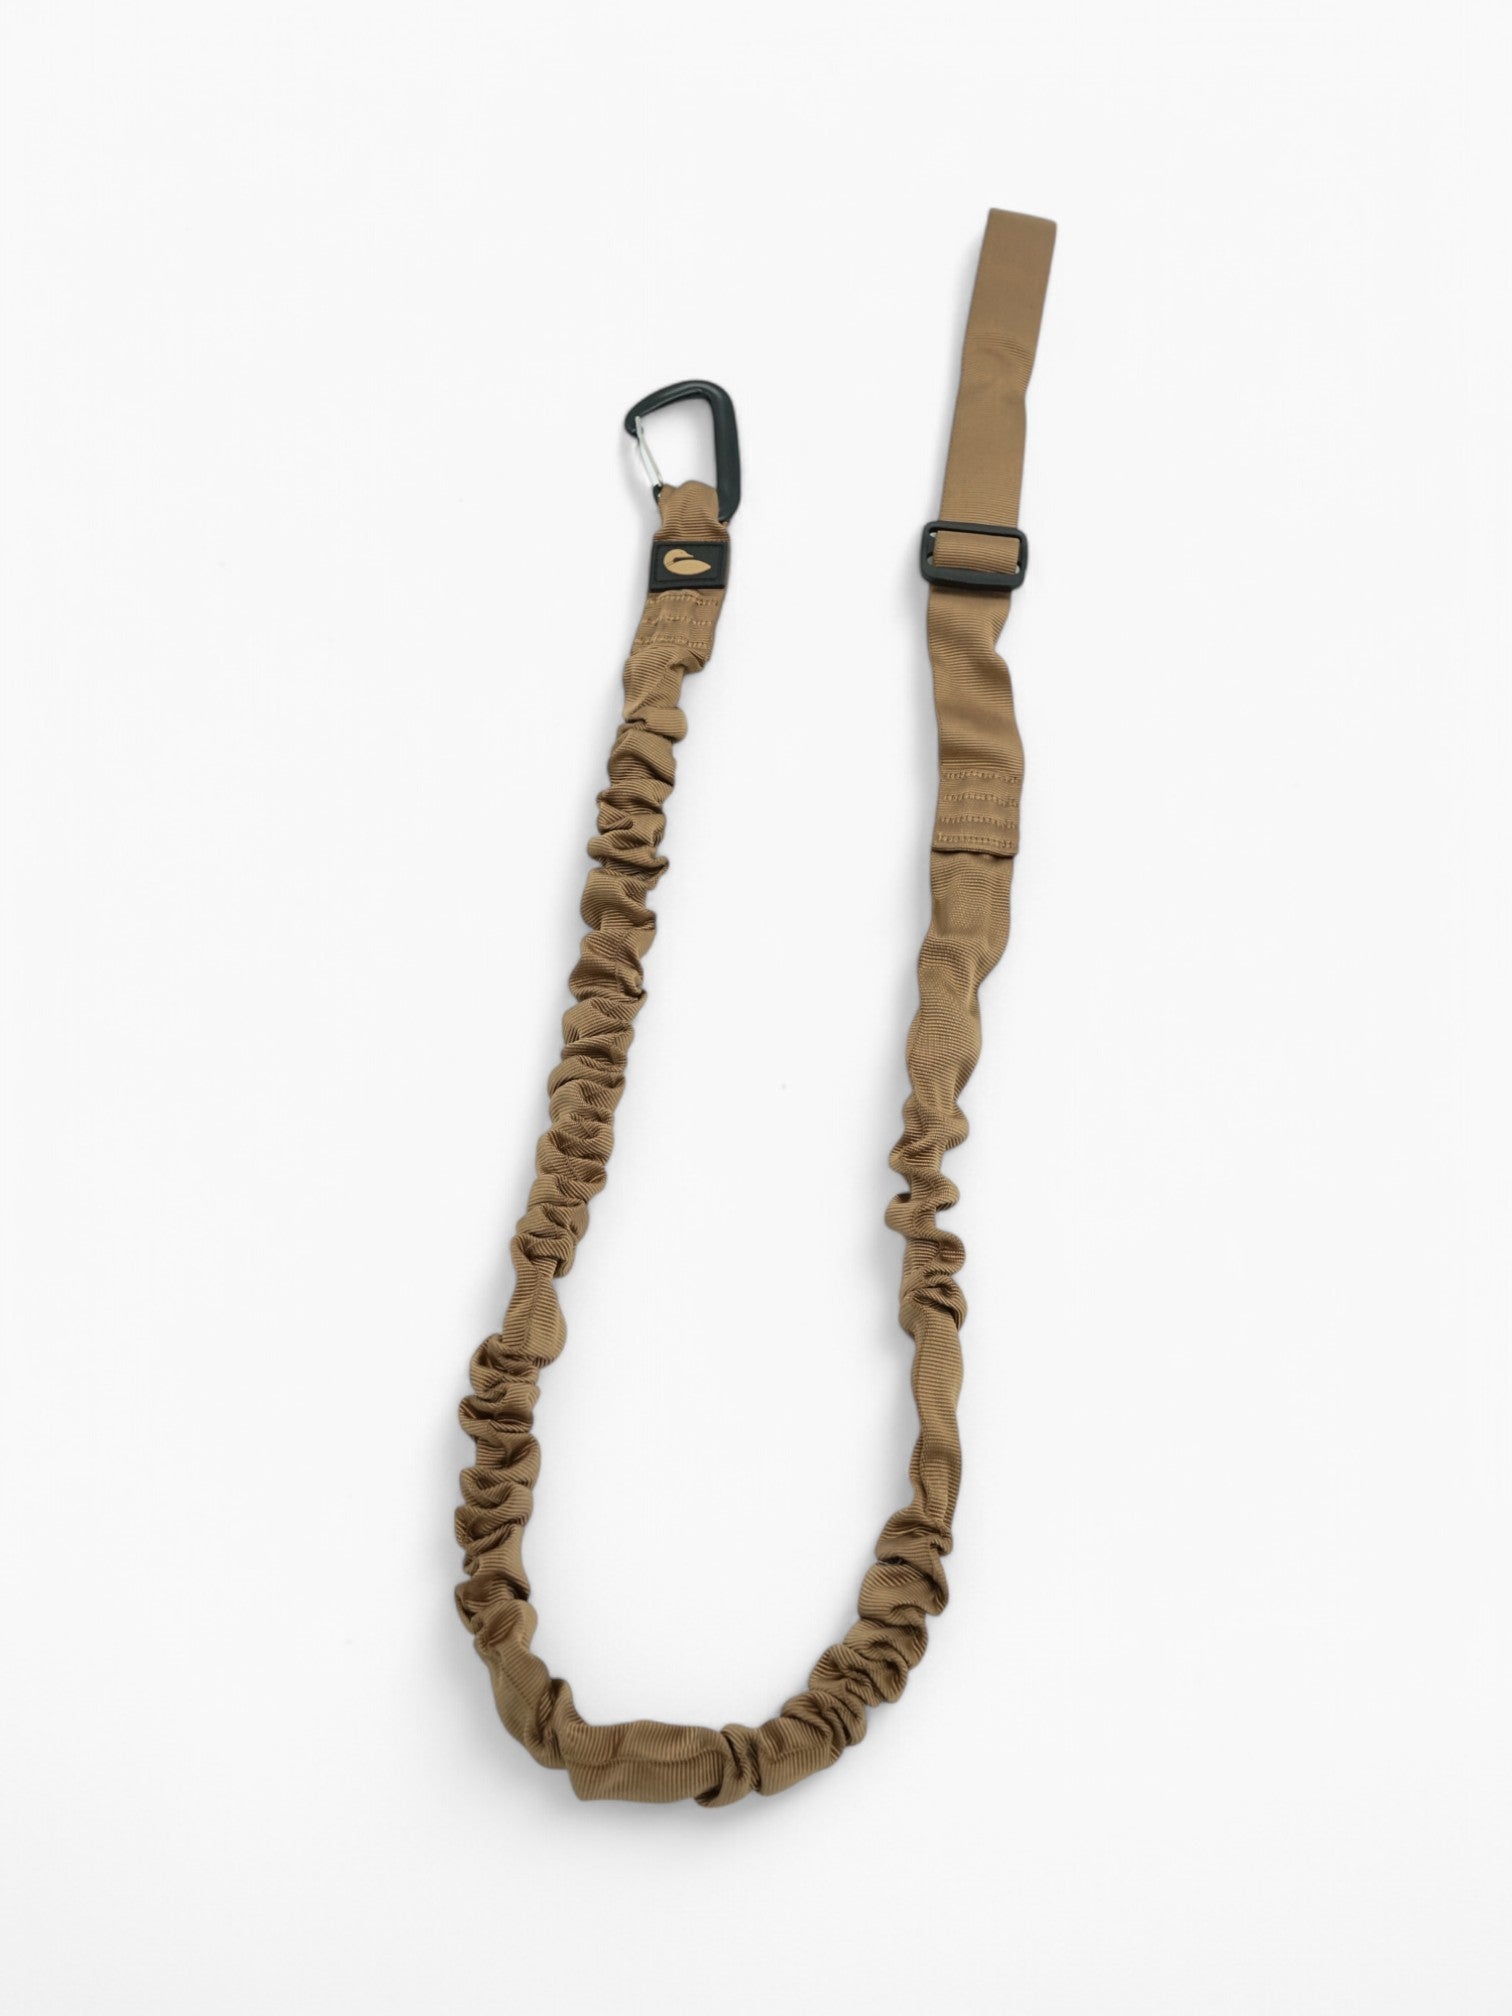
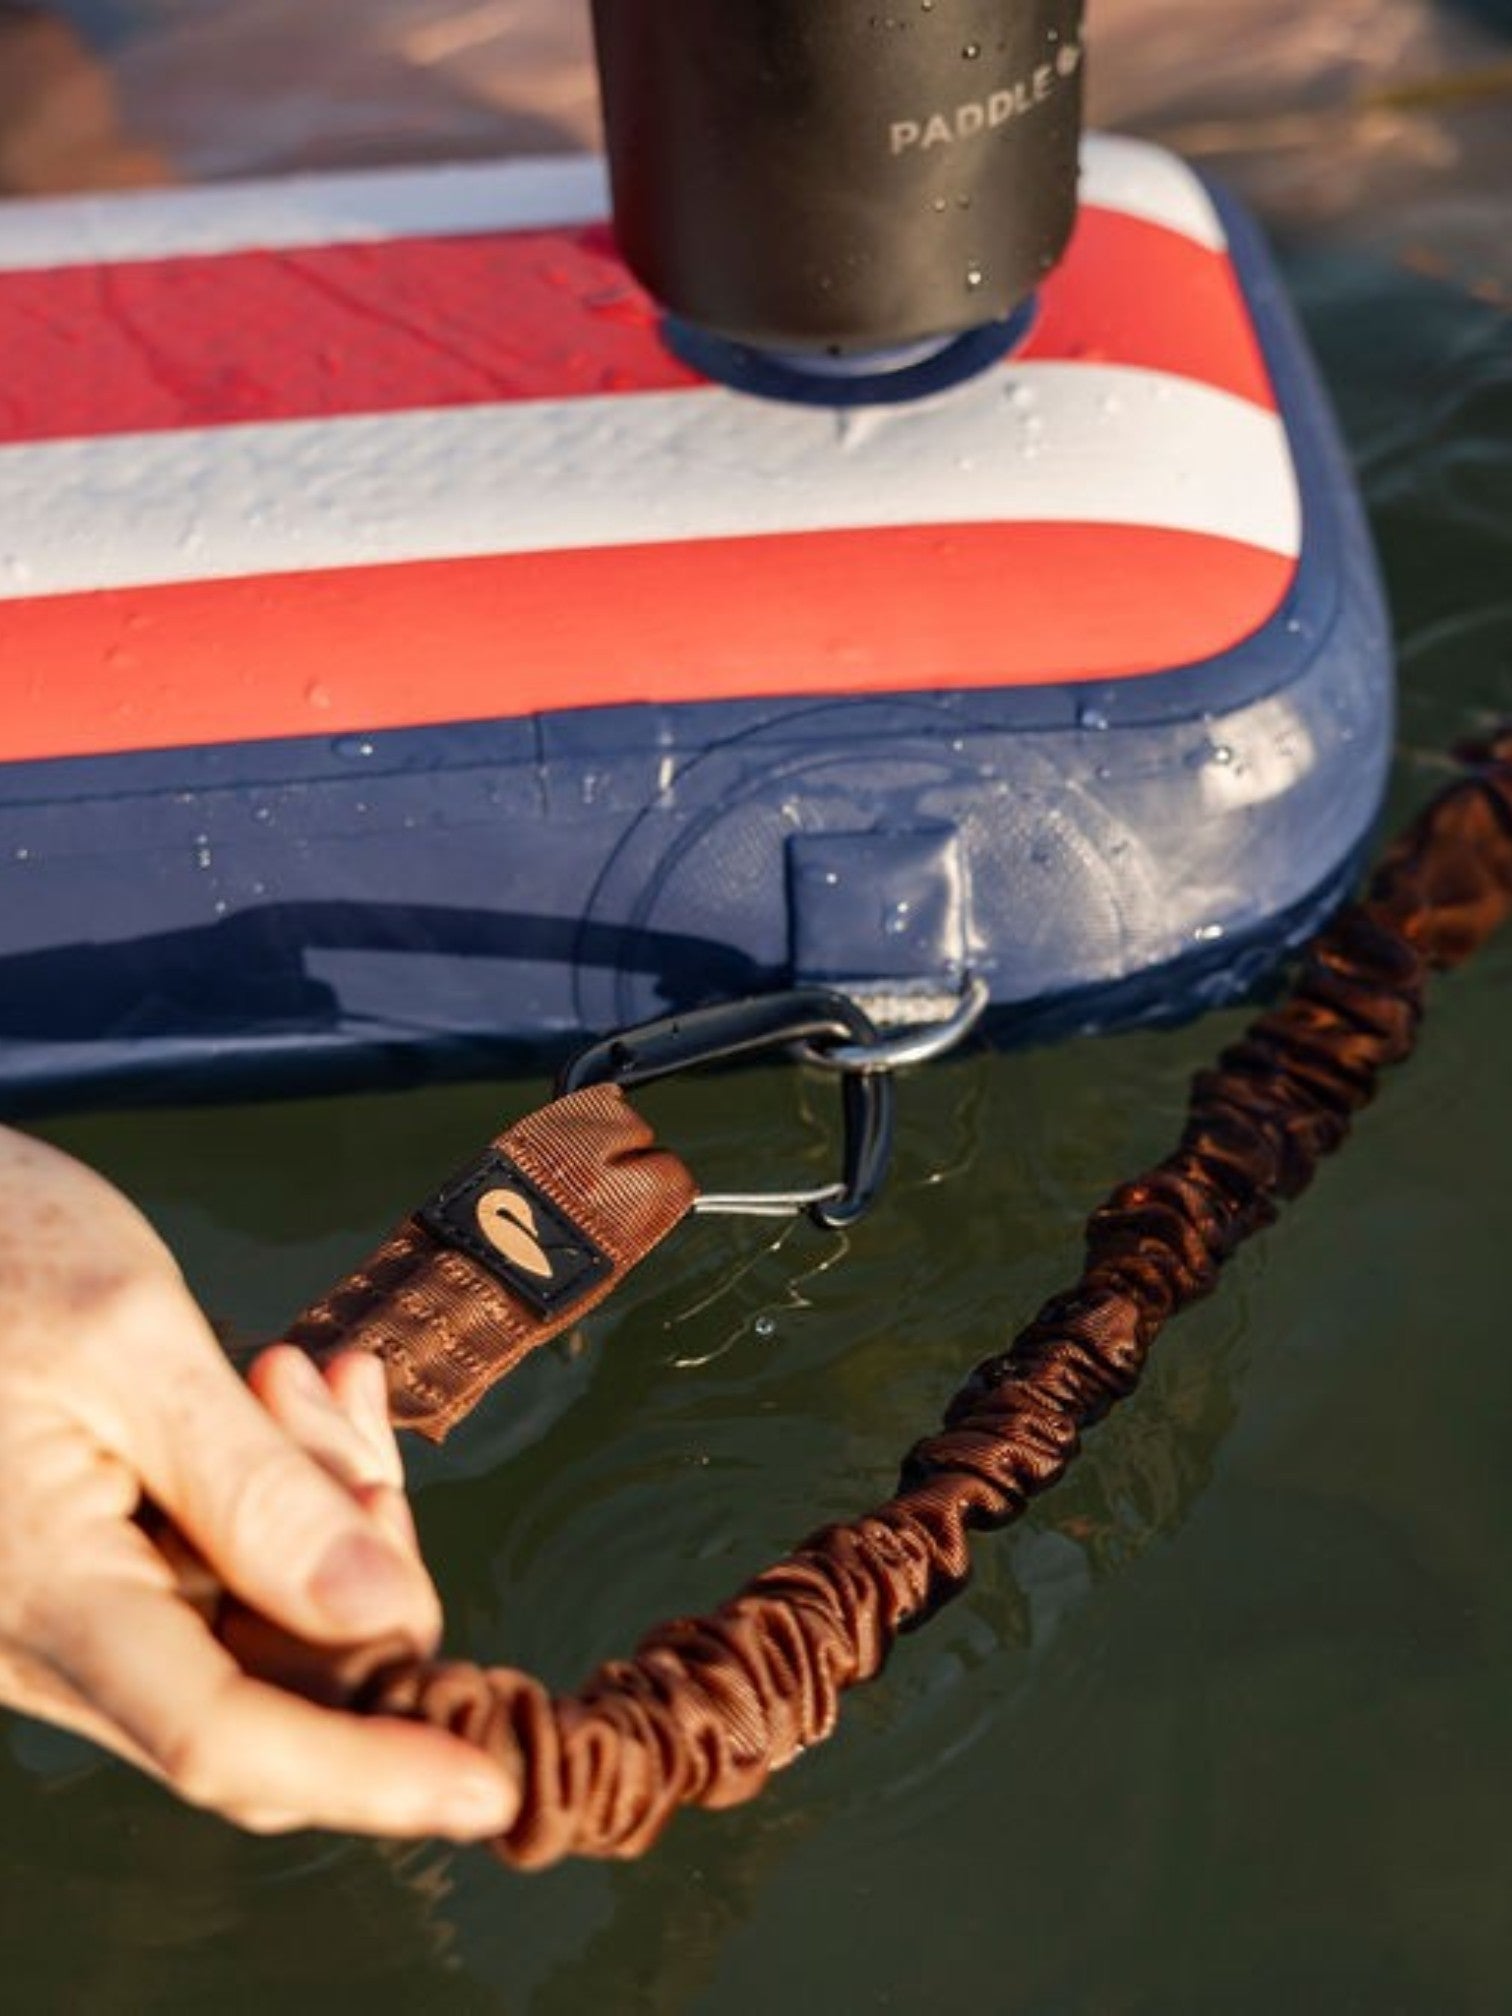
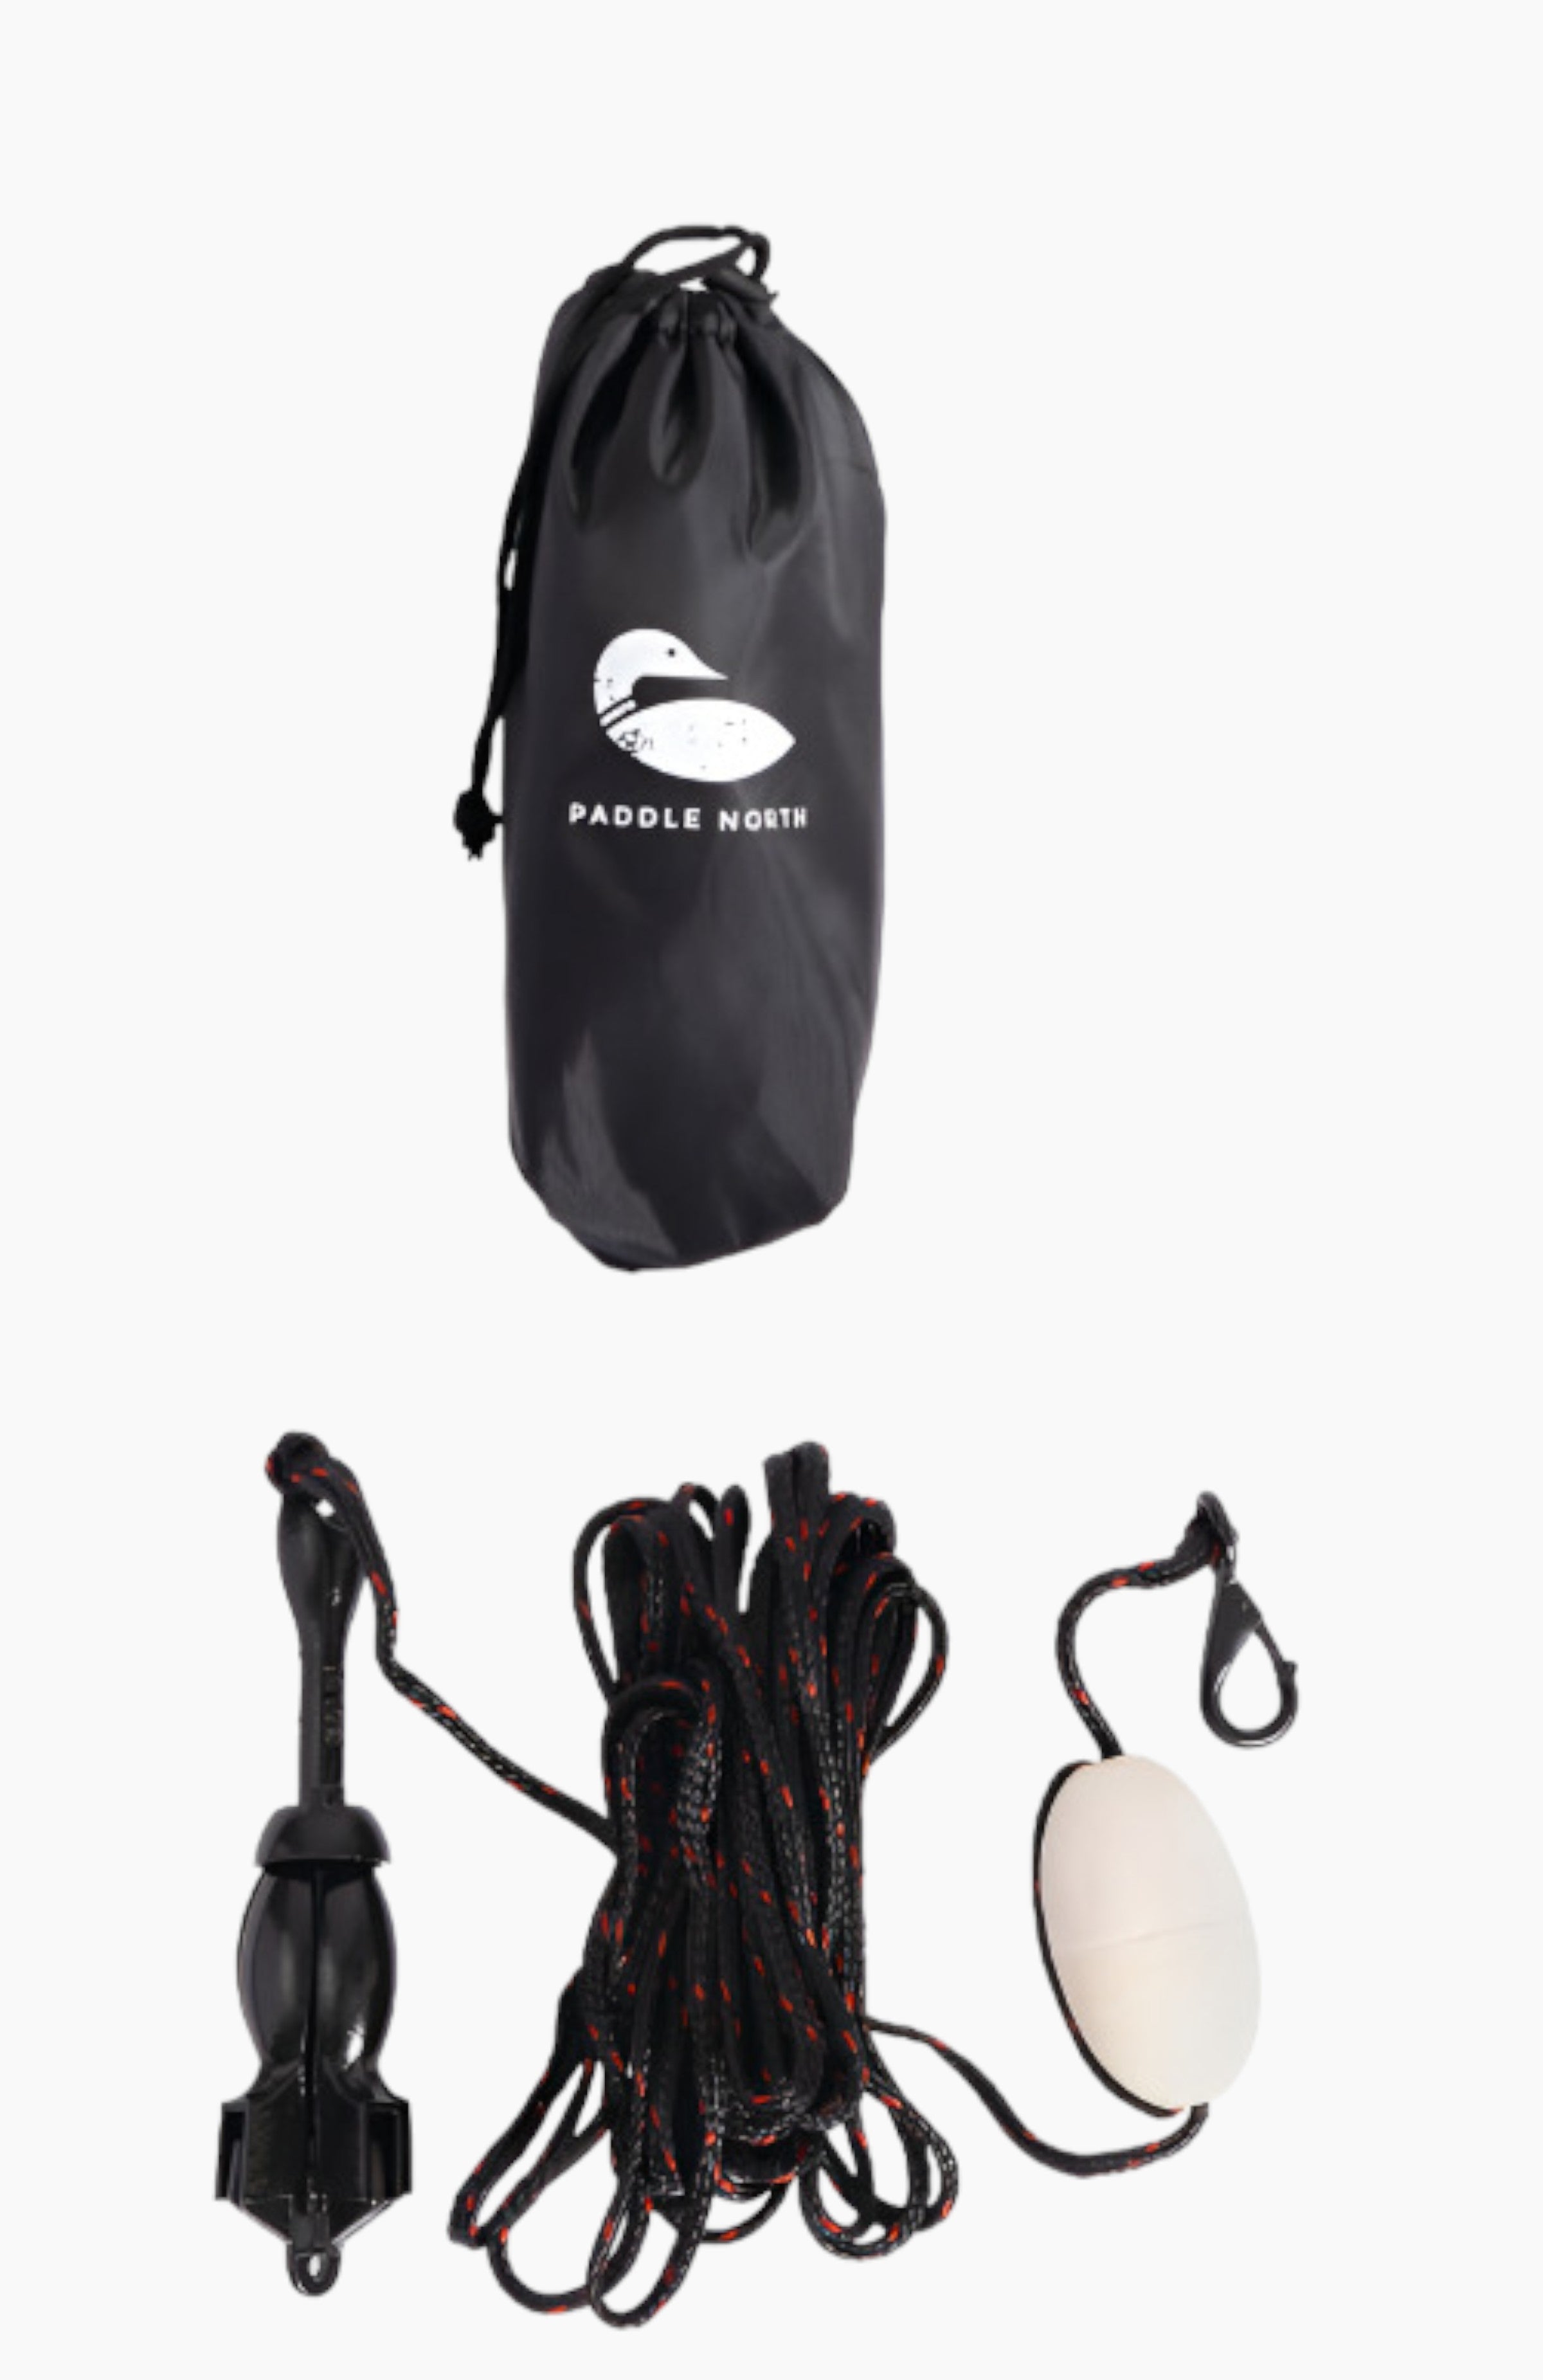
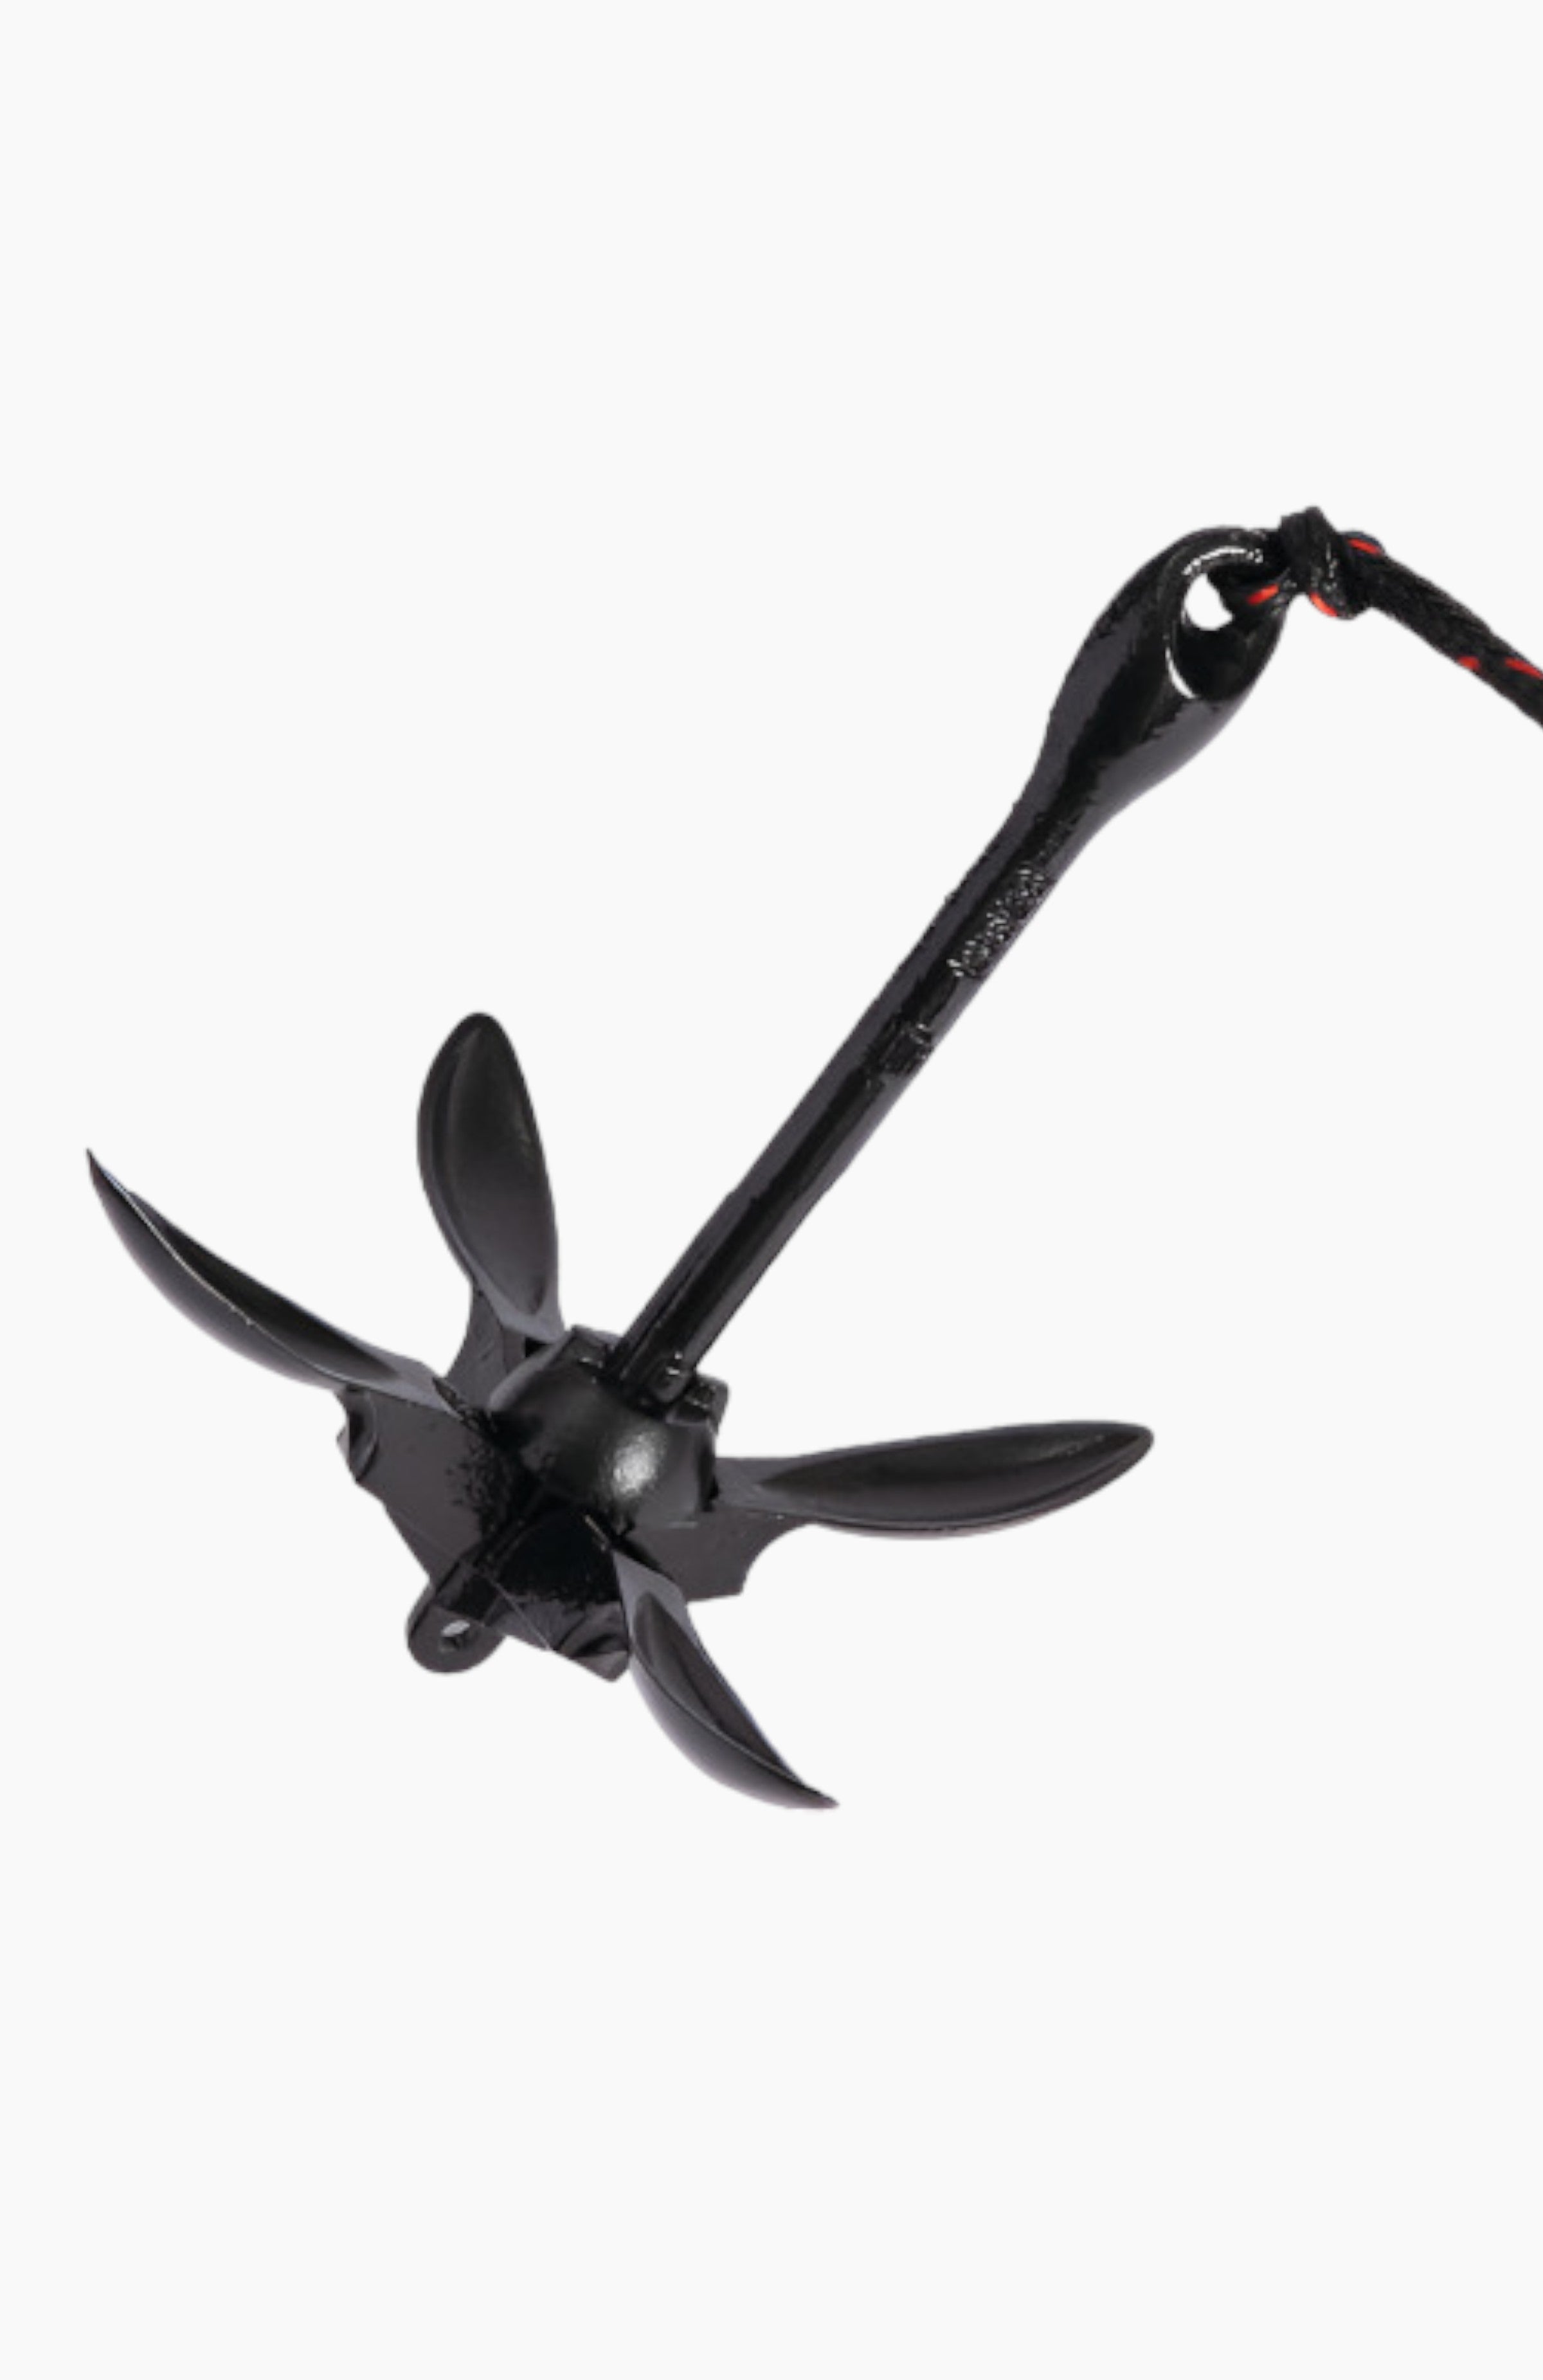
Tether the Watering Hole with a mooring bungee or a rope to an anchor, boat, dock, or other Paddle North product, such as the Loons Nest, so it stays within reach and doesn’t drift away.
Deflating Your Watering Hole
1. Deflating the Watering Hole takes just a few minutes. Empty any ice or water from the center and dry off the Watering Hole before deflating.
2. Open the valve cap and press down on the center pin for the air valve. The pin will lock in the down position and let all of the air out. Let it sit for a few minutes while air flows out of the Watering Hole.
Optional: Our electric pump does vacuum the air out by switching the hose connector to deflate on pump.
Storing Your Watering Hole
Storing the Watering Hole inflated or deflated is acceptable. If storing deflated, ensure that the Watering Hole is completely dry. If storing in a below freezing temperature, it is better to have the Watering Hole unrolled, or partially inflated, where the seams won’t be stressed.
Popular Accessories